Attention to Details
I’ve been lazy.
Specifically, I’ve been lazy about how I scan and process my 35mm film images. For years I’ve been using the same scanner that I use for my medium format work - the Epson V600. There’s no denying the V600 does a fantastic job with big, medium format negatives. Especially when couple with some extra ANR glass and a betterscanning.com holder.
The V600 even does “OK” with larger 35mm panoramas as I’ve posted here in the past. But when it comes down to your smaller, 24mm x 36mm standard negative, it just falls short.
Part of that is due to the way a flatbed works, and part of that is due to the fact that the V600 doesn’t have a great deal of true Optical resolution. Even though the scanner claims a 6400dpi max resolution, many tests have put that conservatively at a true 1560dpi. So even if you scan with it at 3200dpi, or even 6400dpi, what you end up with is just a larger file, but not really any increased resolution.
For a long while I’ve been OK with that. But over the past year I’ve shot a lot more 35mm, and there have been times I’ve just been really “meh” about the final result once I start working on the scans in Lightroom or Photoshop. It takes a lot of work to get to that point - travel, shooting, developing, and scanning. Why drop the proverbial ball on the last step of the process?
So I made a change for 2023, and purchased an additional dedicated scanner for just 35mm film. The Nikon CoolScan V. The CSV has a true optimal resolution of almost 4000dpi, which is much greater than the V600 that I’ve been using. And it appeals more to me than DSLR scanning, which is the other way to get higher res scans.
Adding the CSV to my 35mm workflow has necessitated the addition of two new software programs - Vuescan and Negative Lab Pro. Vuescan is to run the scanner, since Nikon no longer supports it and the old software won’t work with newer operating systems like Windows 11. Negative Lab Pro is great for converting the scans to positives and can do a great job of emulating lab scans, and can do so in batches.
Using the CSV had been a bit of a learning curve but I’m getting better at it. I like that it can scan 6 frames at a time, so now I can use the PrintFile storage sleeves that hold 6 rows of 6 and cut my negatives that way. That alone makes my life so much easier. The CSV also scans 6 images in a batch, so it basically just “eats” your strip of 6, scans, and then spits it back out. I can just walk away or do other things while that is going on.
OK, enough talk - here’s where I show you the difference.
I shot this image last year at Hocking Hills on Portra 400 35mm film, in my Nikon F80 with the trusty 50mm f/1.8 lens. The image on the left is the original that was scanned back in October at “4000” dpi on the V600, while the one on the right was scanned last week with the CSV at 4000dpi and converted in NLP.


The first thing you notice is the color difference. The Epson software interpreted the Portra 400 and spit the original out as a positive image, and I did some slight tweaking and dust removal in Photoshop. The new image was scanned in as a Nikon “RAW” negative file, and then converted by the NLP software to a positive image. I think its much closer to that “Portra look” that everyone seems to want. I didn’t do much to this new scan other than some dust removal in Photoshop.
But the big difference is the detail. Below are 100% crops of the above images, with the V600 file on the left and the CSV file on the right.


The difference in detail, to me, is shocking.
Shocking enough to kinda make me angry that I’ve been so lazy with my 35mm scans in the past.
I’m still perfecting my workflow, but this experience has shown me that sometimes its good to look around and consider other ways of doing things.
My new-to-me CoolScan isn’t perfect though - it can’t scan 35mm panoramas. Or at least, its not designed to. I’ve got an idea on how to do that, and am waiting for the FH-3 Strip Film Holder that I purchased for it on eBay. My hope is that with a little modification to the FH-3, I can scan a 35mm panoramic image in 3 overlapping pieces with the exposure locked and then blend them together in Photoshop. More to come on that later.
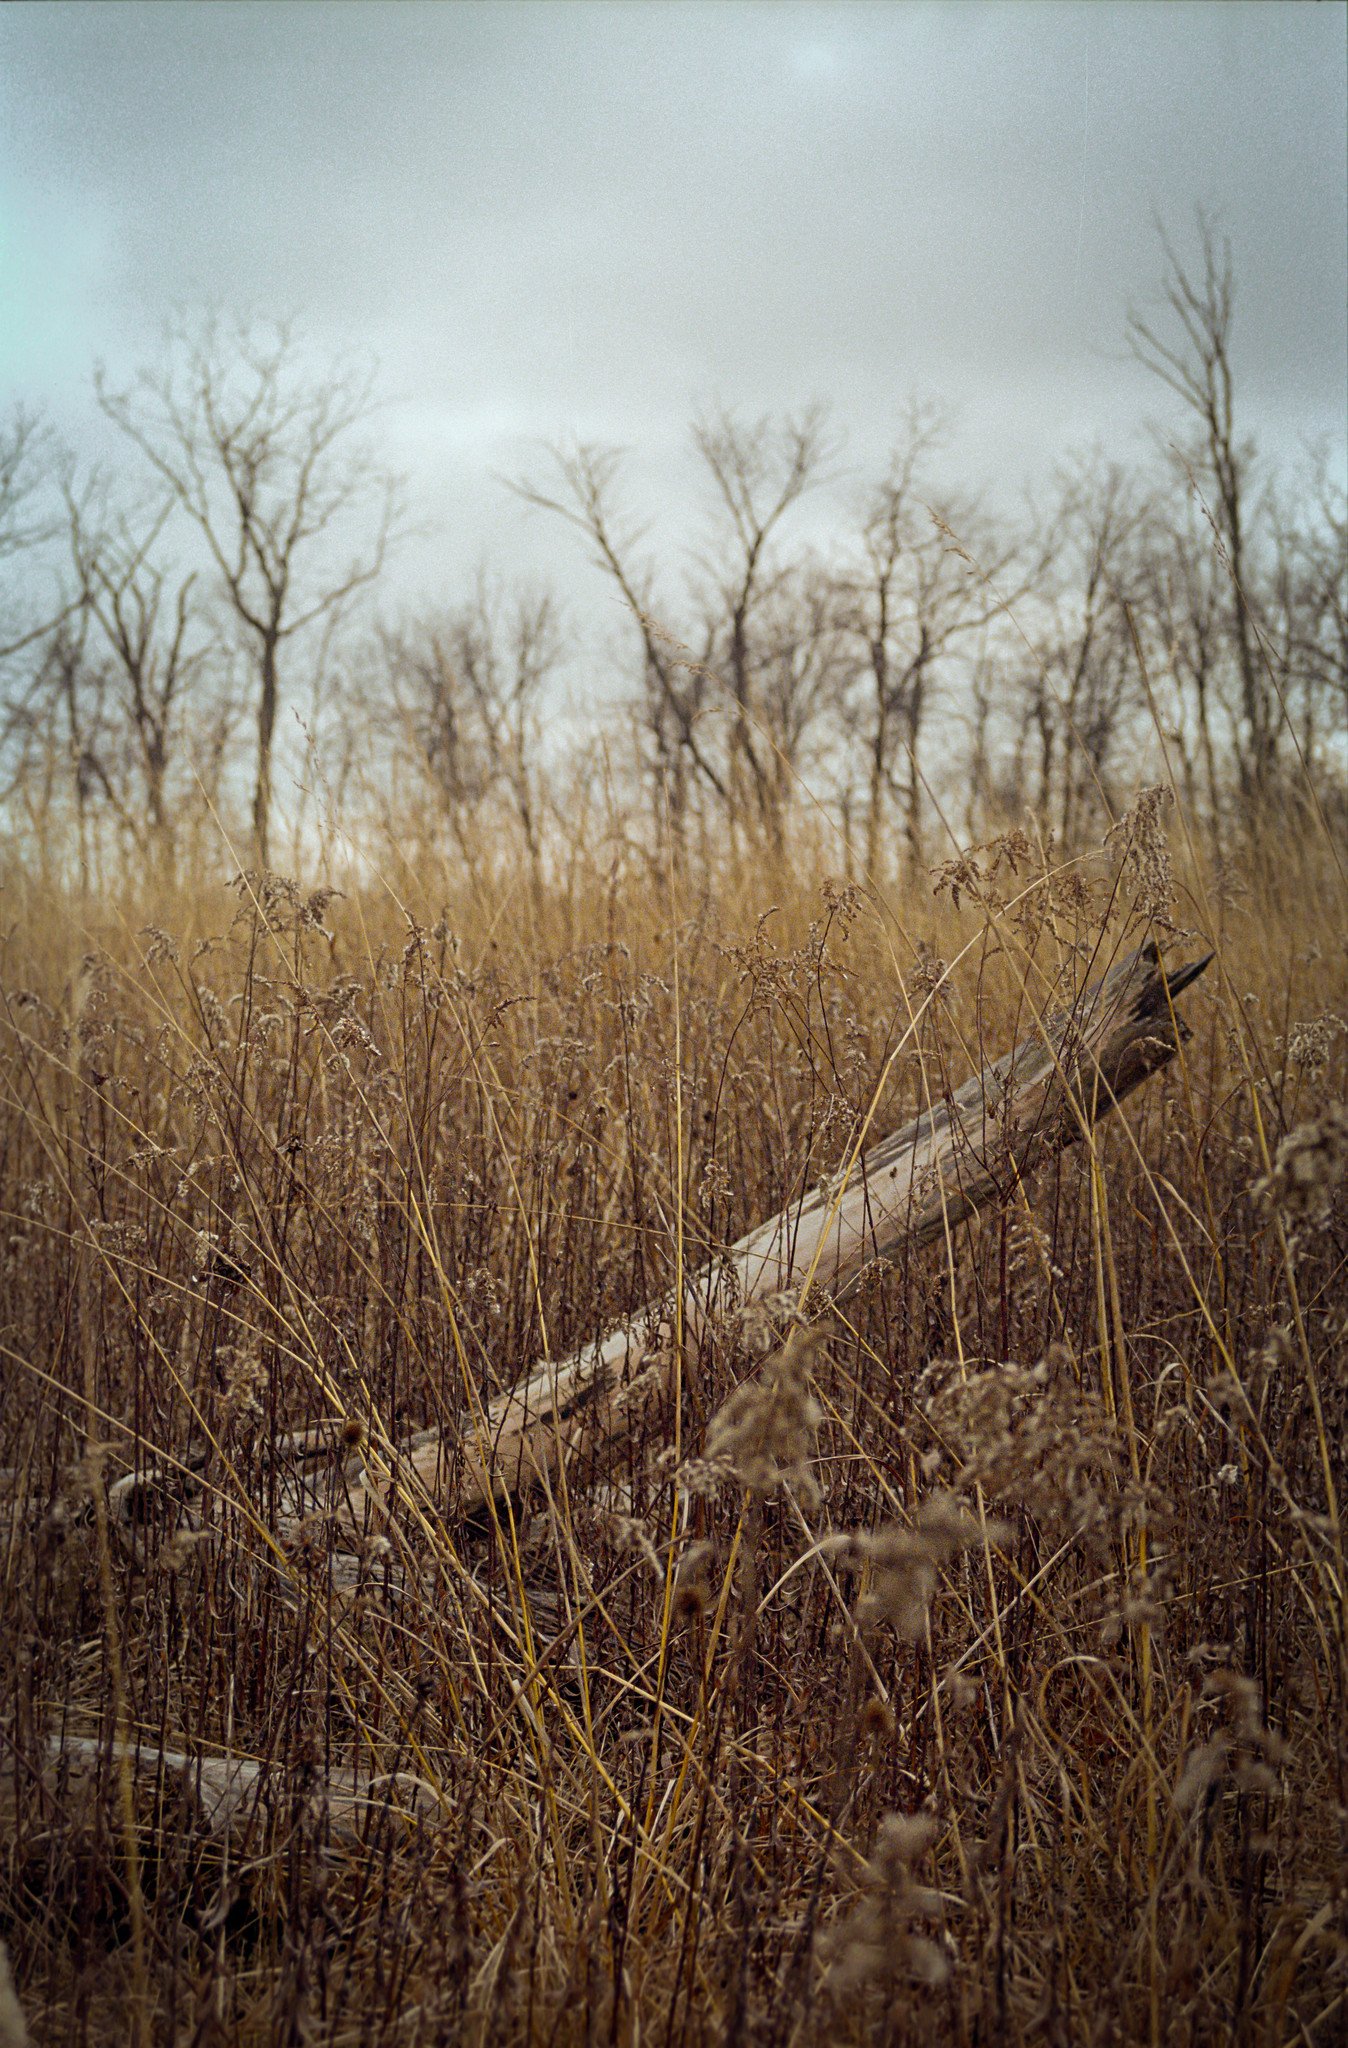
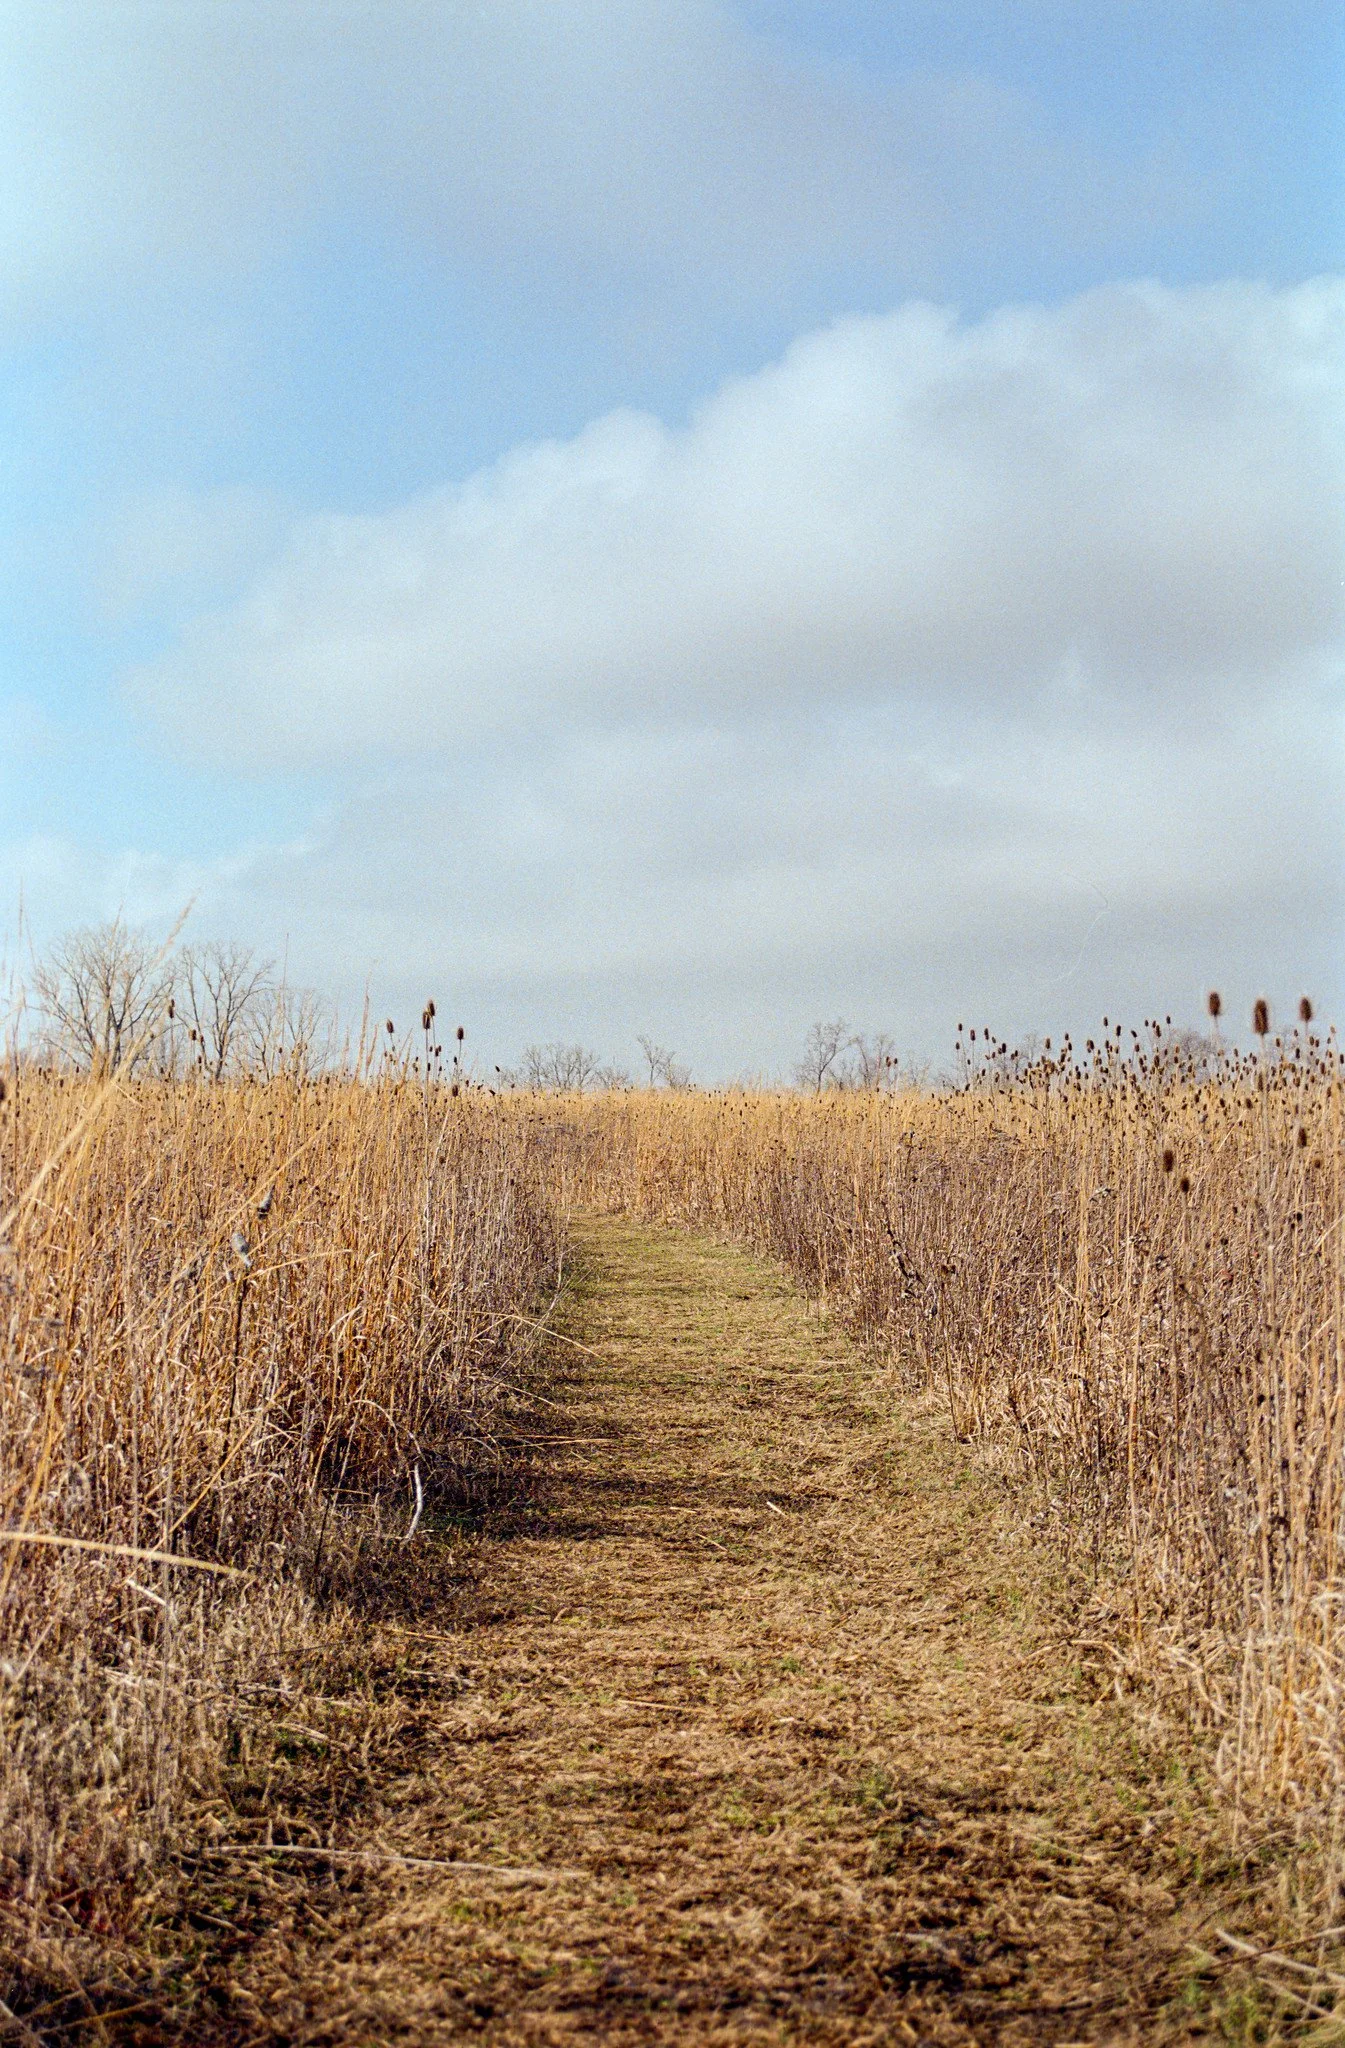
For now, here’s some recent shots made with different 35mm film stocks and my Nikon F100 while hiking at different trails, and travelling around the area over the last few weeks. These were all scanned and processed with the CSV, Vuescan, and NLP.


That’s all for now!
Thanks for reading. Feel free to comment below if you have any questions or thoughts.
Jeremy