Bleach Bypass Development - What is it and how do you do it?

Still from “Saving Private Ryan”.
You may have heard the term “Bleach Bypass” and haven’t really understood what it was, or had some vague understanding of it but thought it was something overly complicated. In reality, it’s not that complicated in regards to film processing at home. In fact, one could argue its fairly easy, since it effectively skips a step in the normal C41 process. But more on that later.
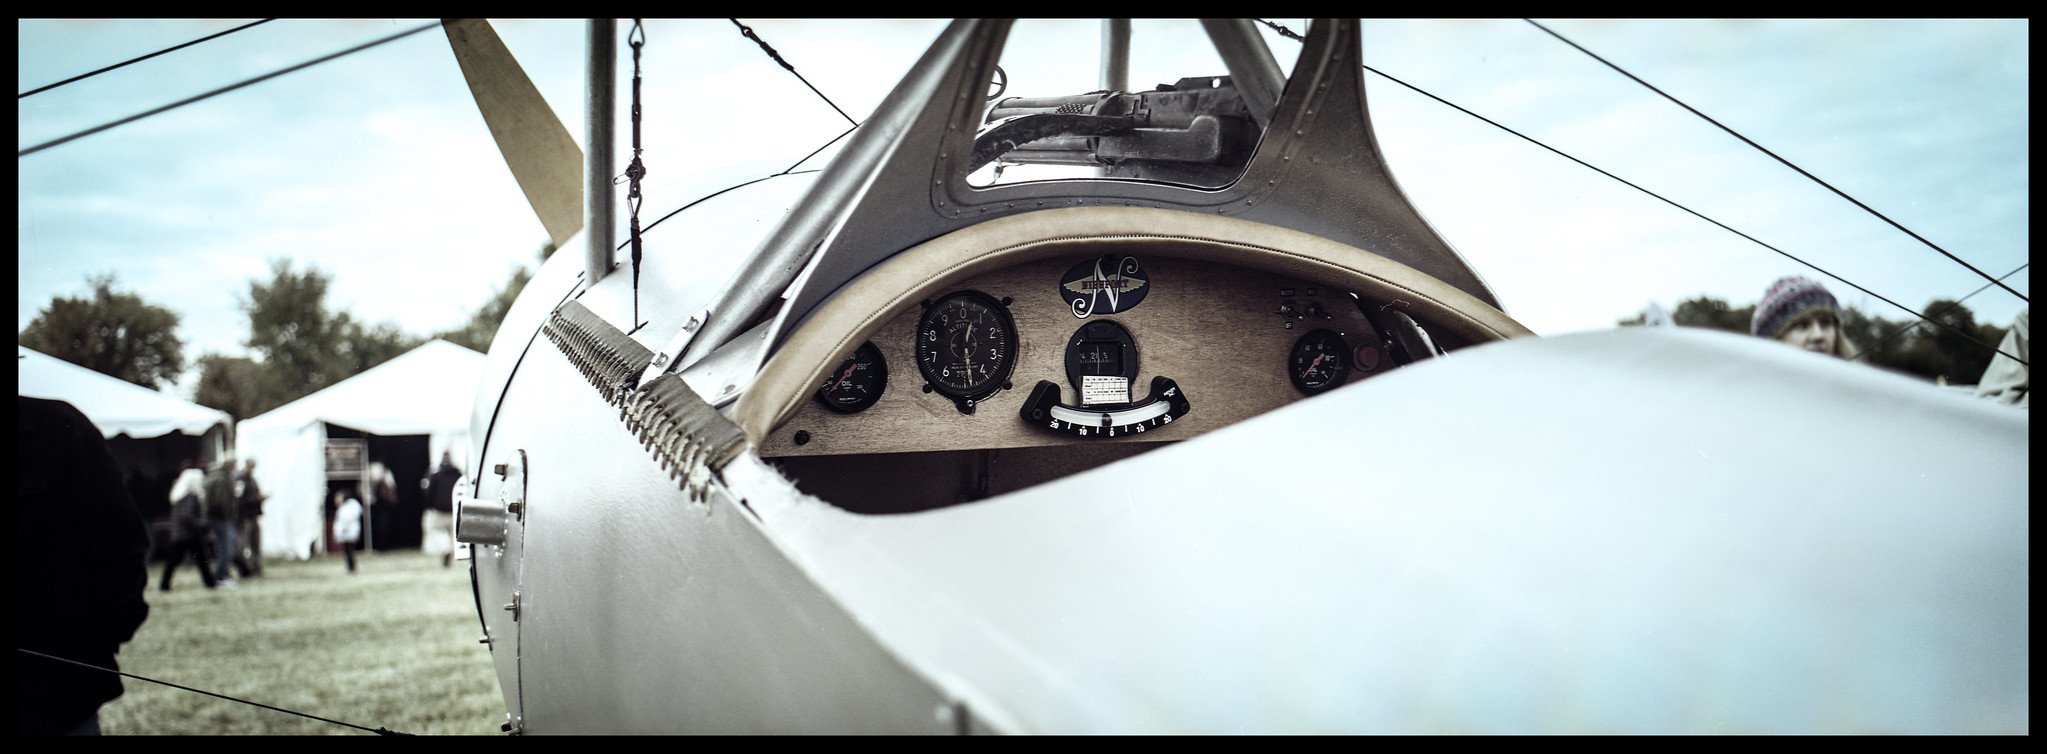
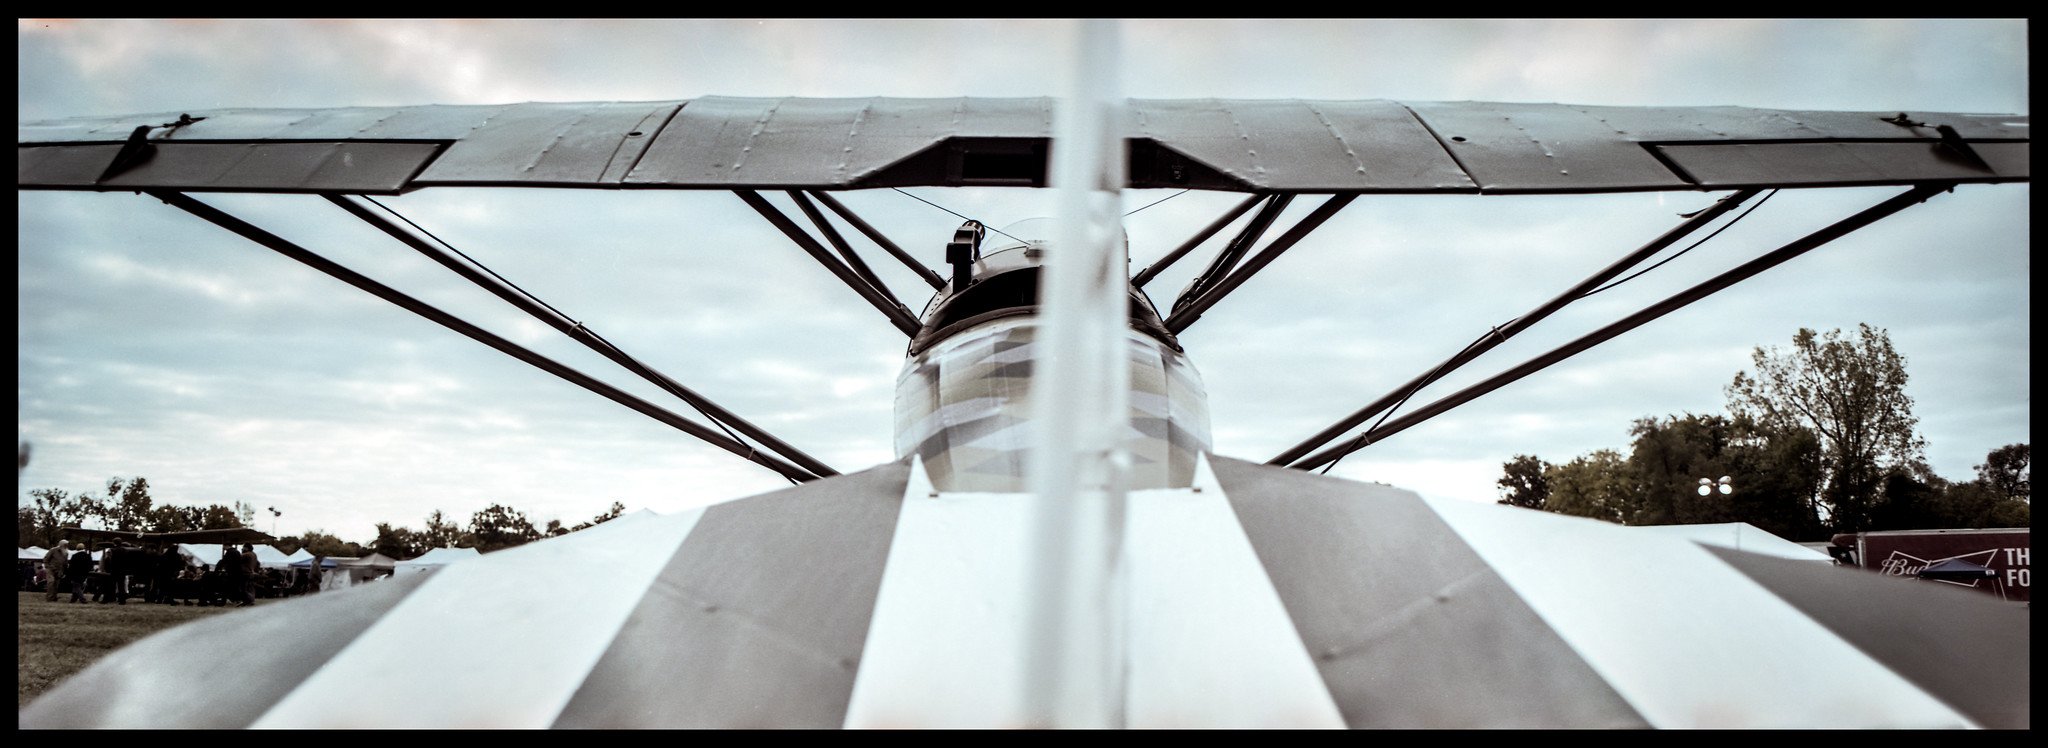
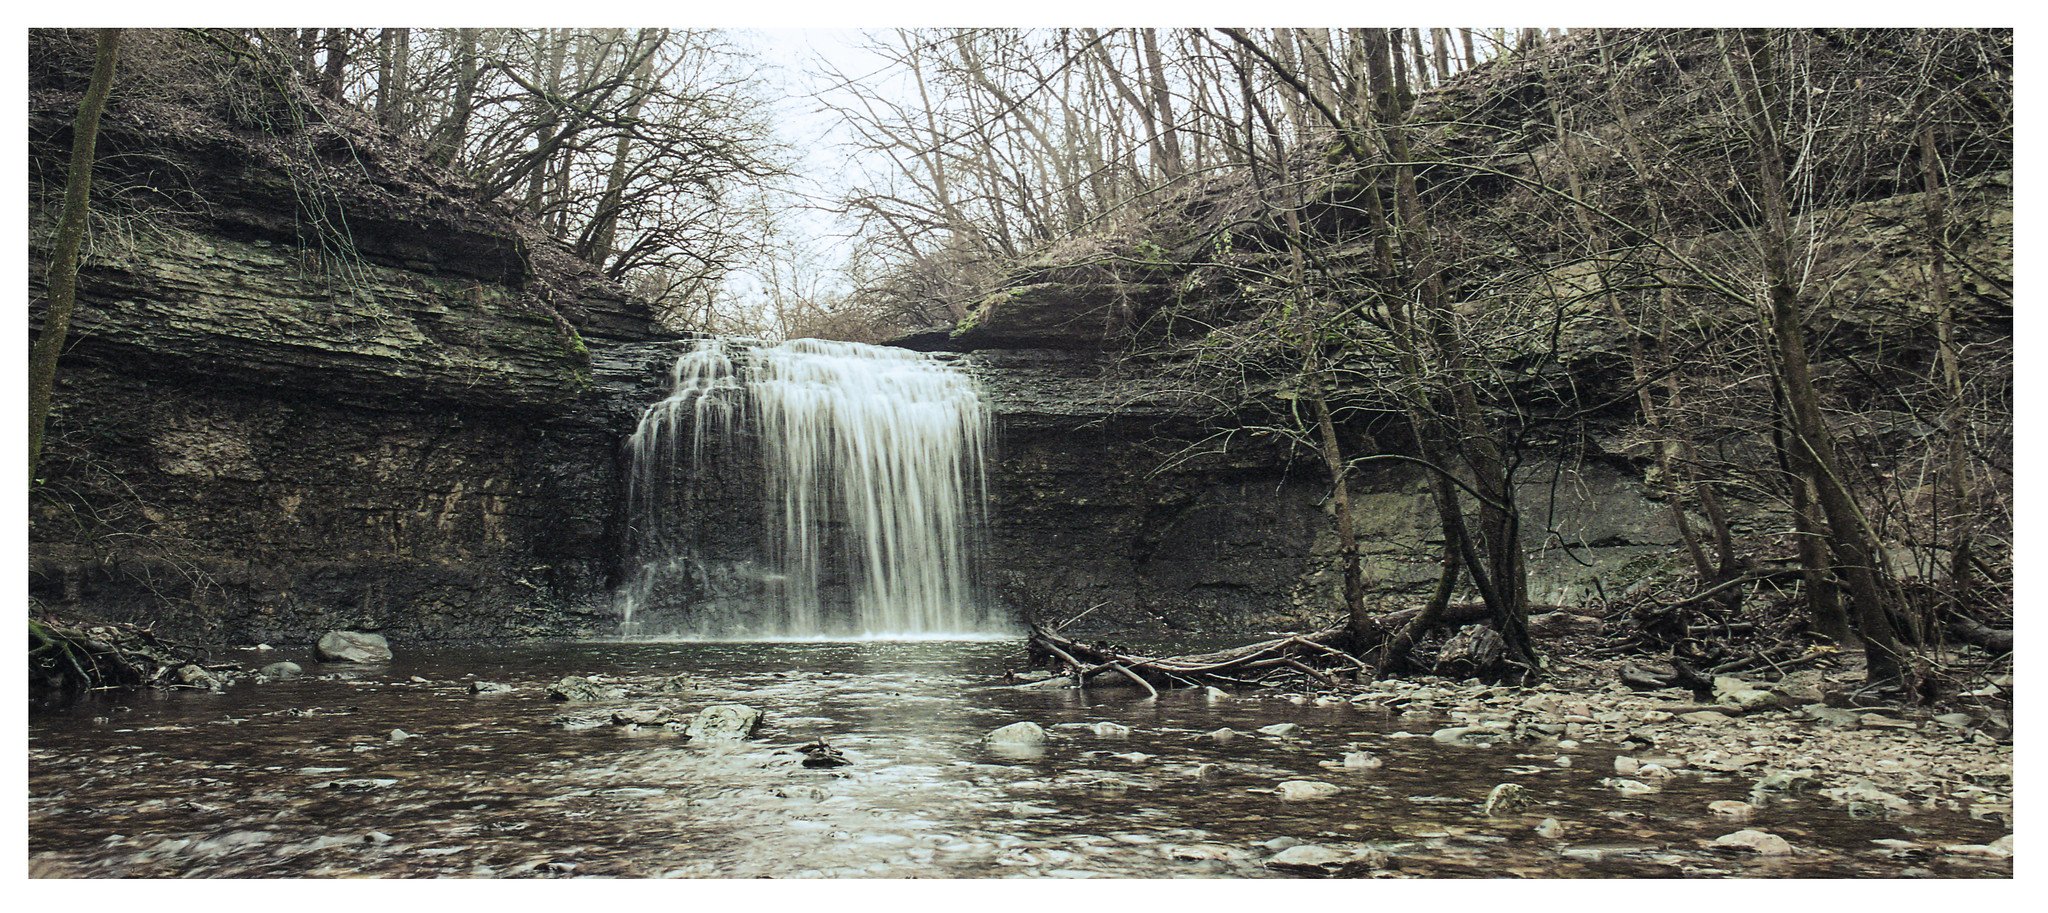
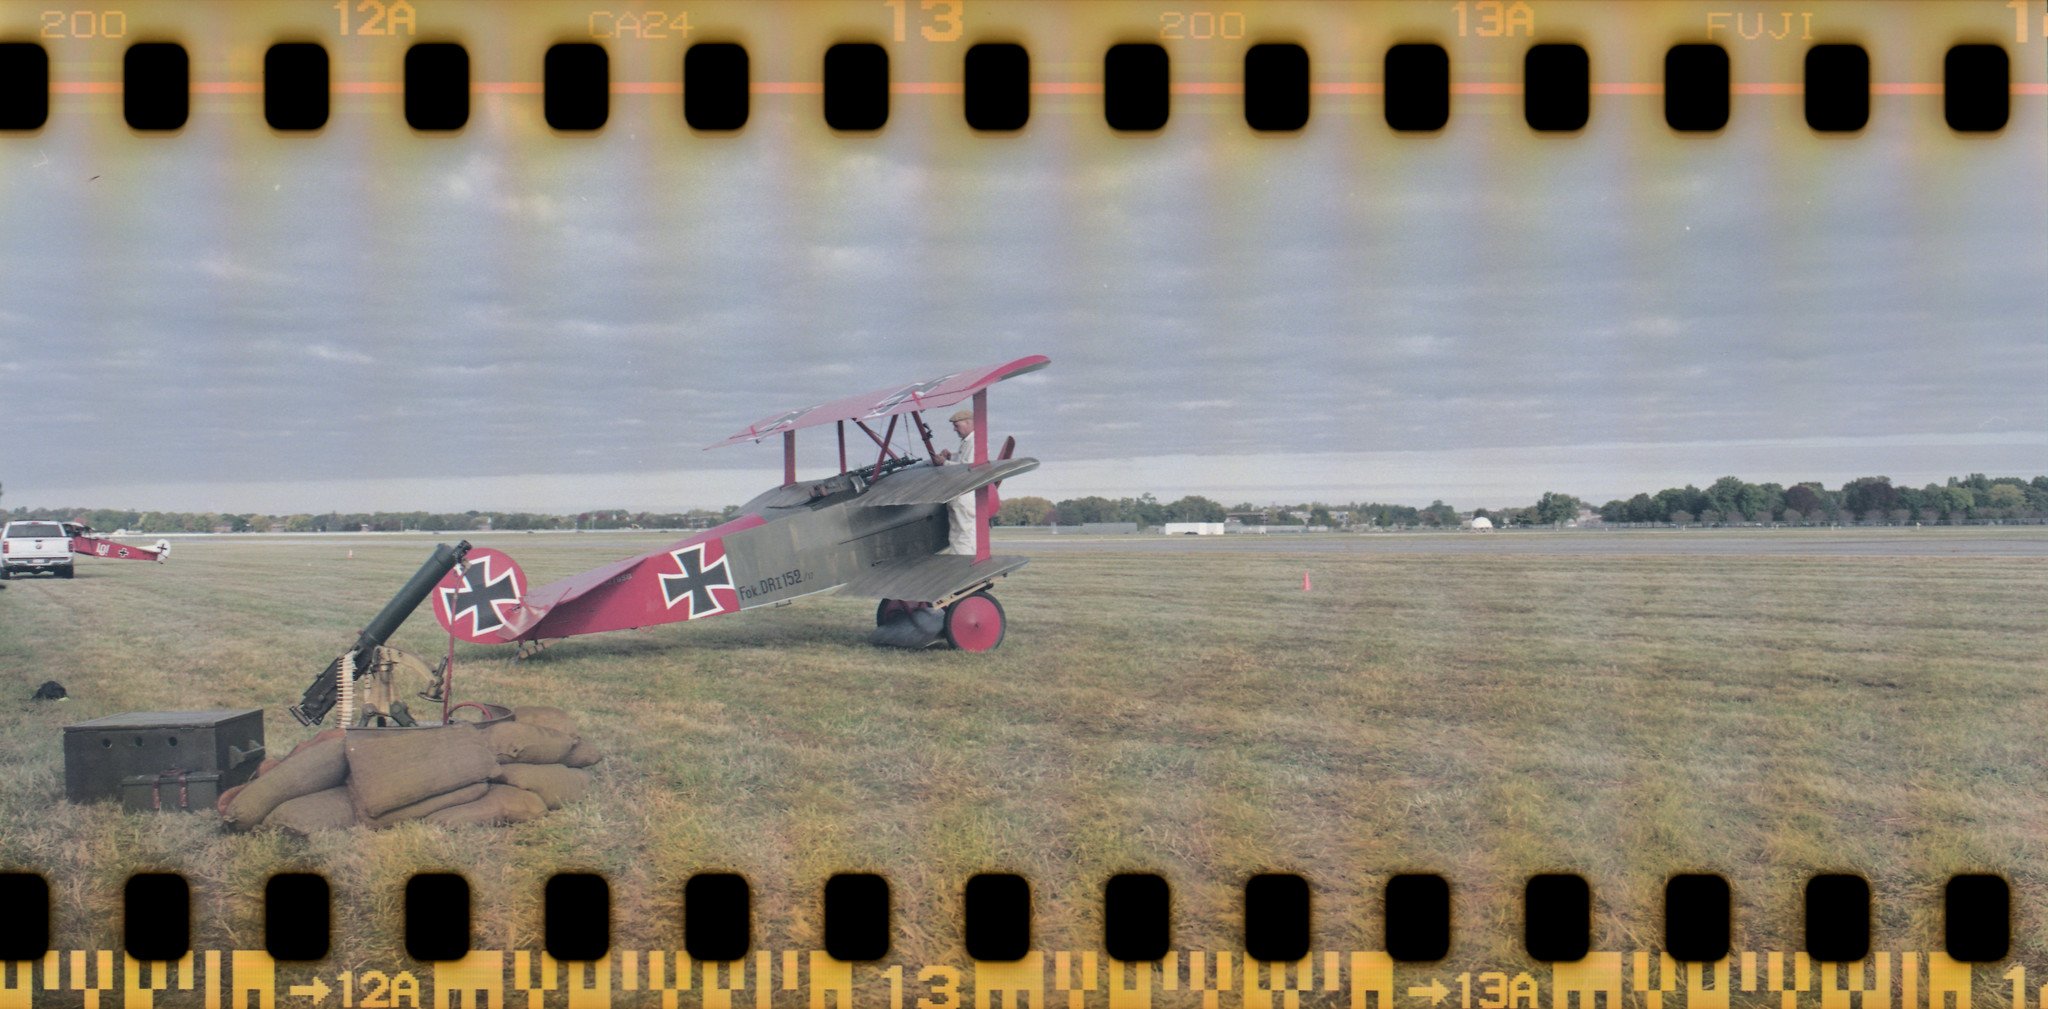
Dawn Patrol Rendezvous, October 2022 at WPAFB, Dayton, Ohio. Cinestill 50D film, Bleach Bypassed, with Mamiya RB67 ProSD.
The "Bleach Bypass" color process, aka skip bleach or silver retention, is a process of skipping the step of bleaching during processing of color films. By doing this, the silver on the film that is normally washed away during the bleach portion of the process is retained in the emulsion along with color dyes. The result is a black and white image over a color image. The images usually have reduced saturation along with increased contrast and graininess.
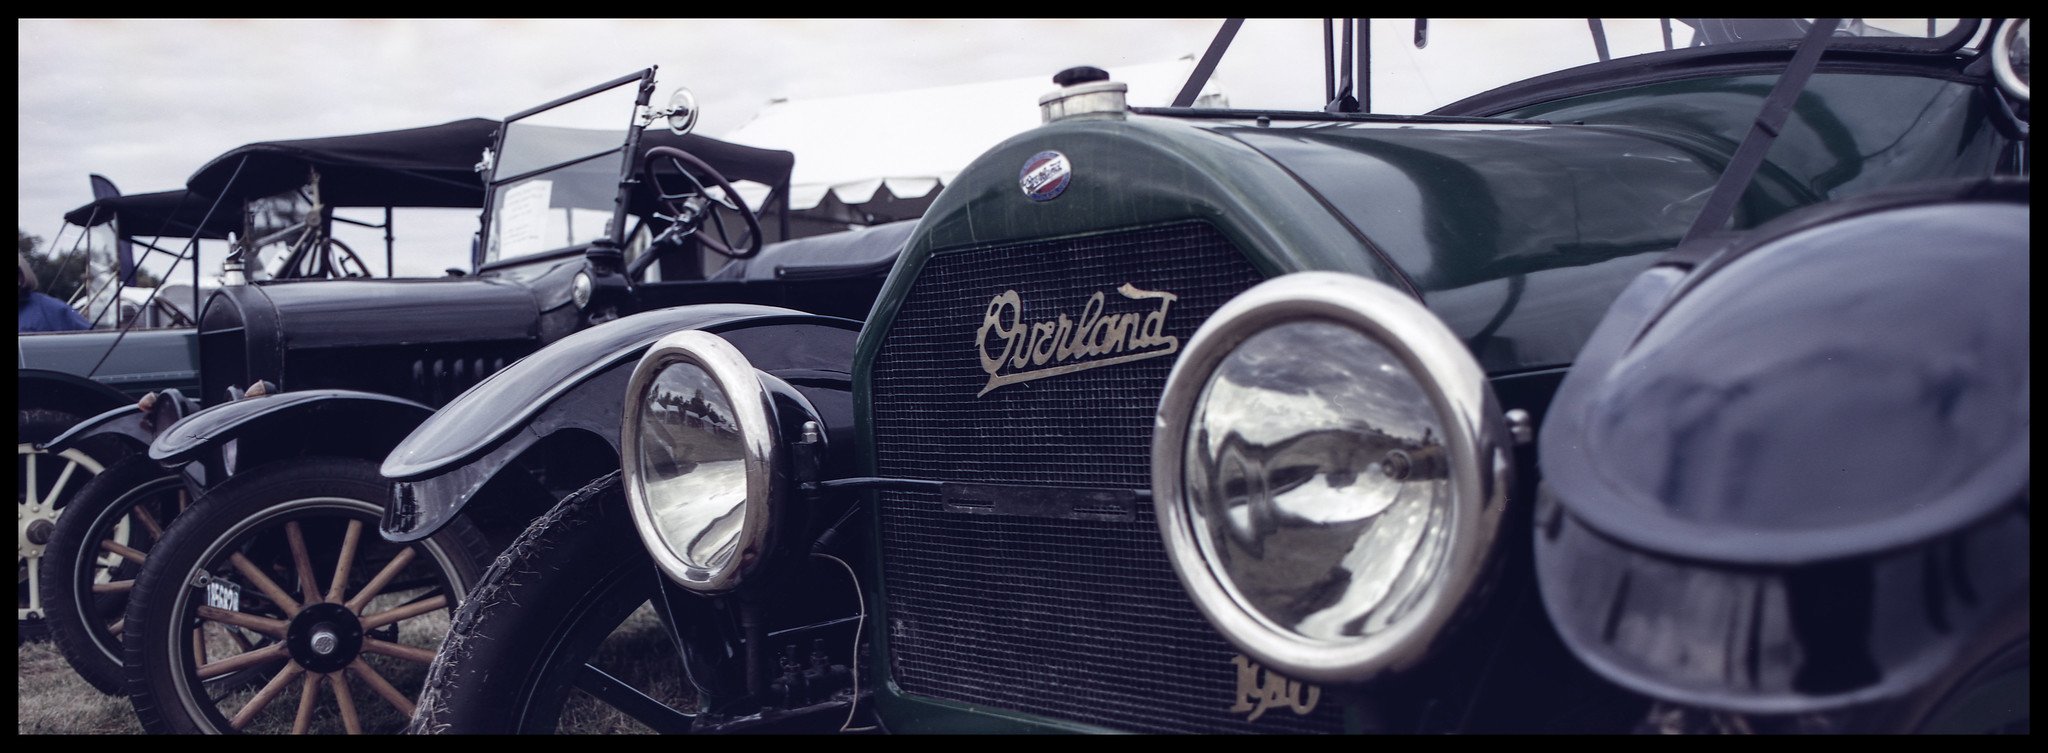
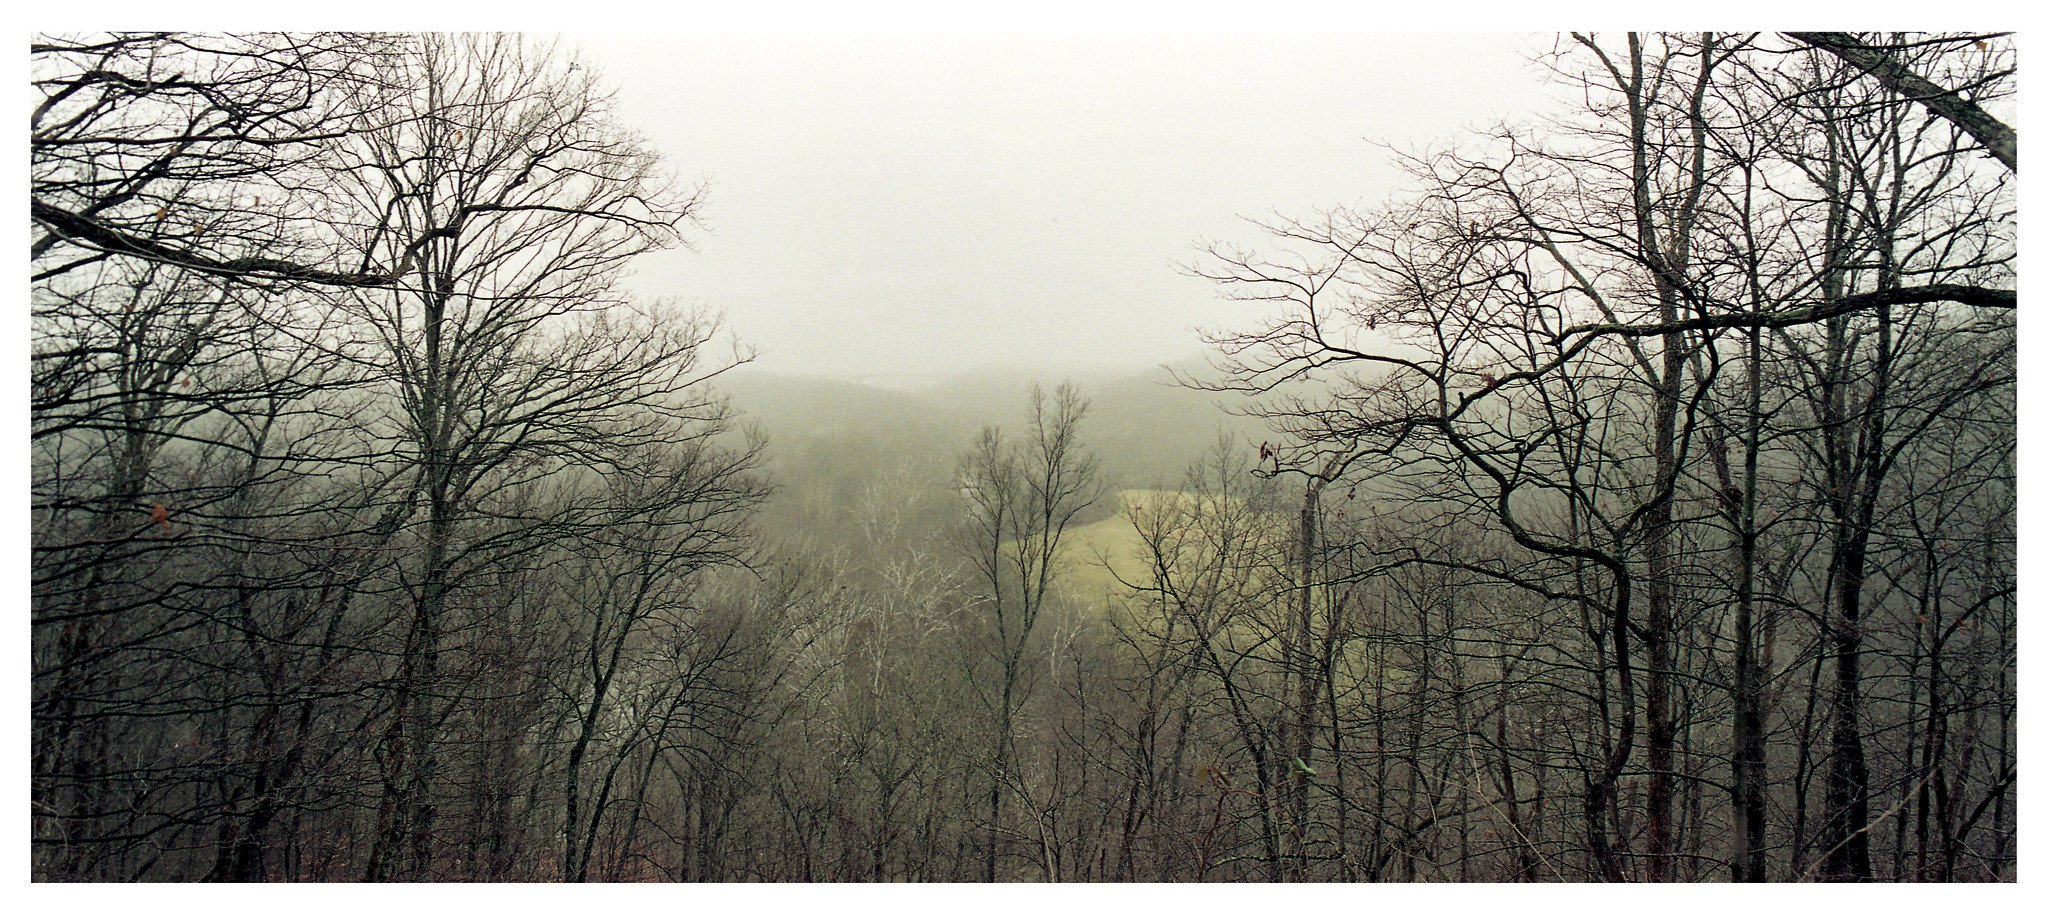
Dawn Patrol Rendezvous, October 2022 at WPAFB, Dayton, Ohio. Cinestill 50D film, Bleach Bypassed, with Mamiya RB67 ProSD.
Motion Picture "Bleach-bypass" was first used in cinematography by Japanese filmmaker Hiroshi Inagaki in film Rickshaw Man (1957). Kazuo Miyagawa, as Daiei Film's cameraman, invented bleach-bypass for Inagaki's film, inspired by the color rendition in the original release of Moby-Dick (1956), printed using dye-transfer Technicolor, and was achieved through the use of an additional black and white overlay. After Moby Dick, it remained overlooked/unused for years, until Roger Deakins used it for the movie 1984. Since then this alternative process has become more widely used. Saving Private Ryan, Fight Club, Minority Report, Seven, etc.
When used correctly it can add a “look” that sets an image apart. For some its a love it or hate it kinda thing.
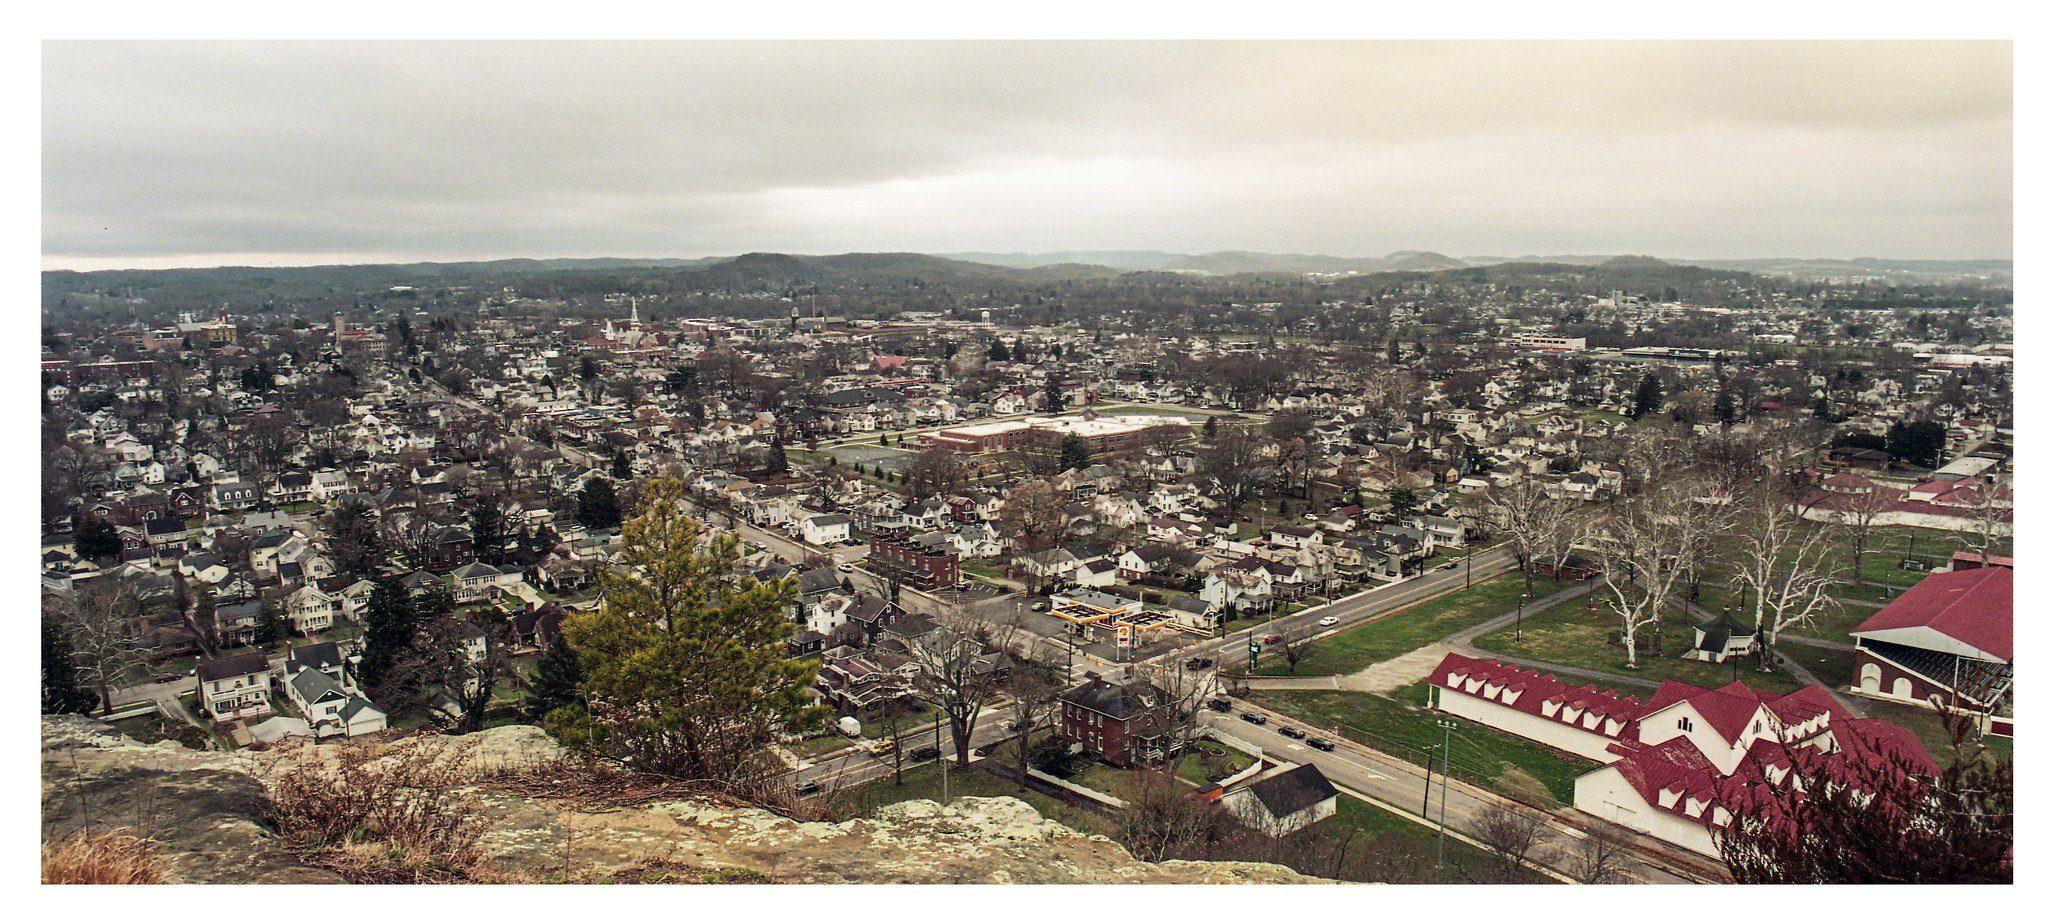
Dawn Patrol Rendezvous, October 2022 at WPAFB, Dayton, Ohio. Cinestill 50D film, Bleach Bypassed, with Mamiya RB67 ProSD.
I’ve messed around with it quite a bit and have a fairly good grasp on it with one exception, which I will get to at the end of this.
The beginning of the process starts when you are shooting in the field. You have to shoot your images planning on doing a bleach bypass development. Because the silver is retained in this process, if you exposed normally, your finished images would have blown-out highlights and be generally over-exposed. So you want to shoot 1-2 stops UNDER-EXPOSED. I typically aim for about 1.5 stops under-exposed. So for example, if you are shooting with a 100 ISO film, you would shoot it as if it were somewhere around a 320 ISO film. Its not often that a process actually gains you some film speed, so this is a bonus if you are shooting with a low speed film on a cloudy day.
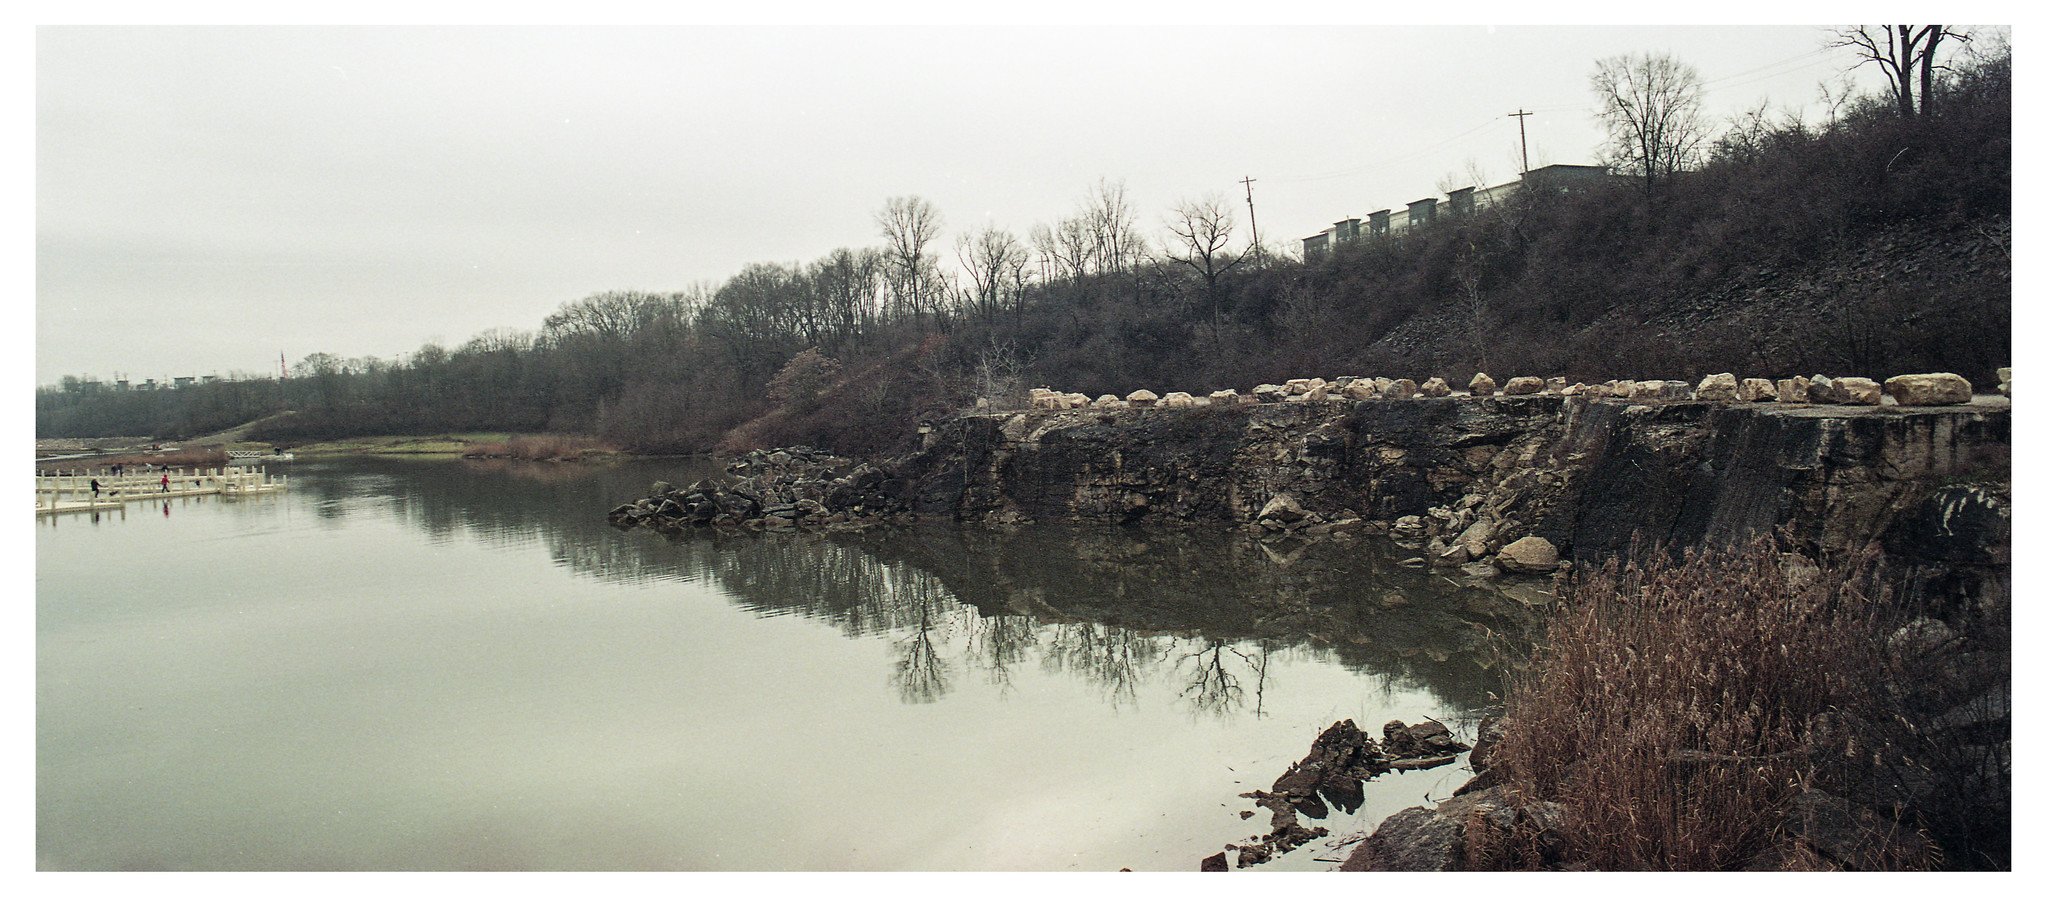
Dawn Patrol Rendezvous, October 2022 at WPAFB, Dayton, Ohio. Cinestill 50D film, Bleach Bypassed, with Mamiya RB67 ProSD.
During your normal C41 development at home, after you have processed your film in the developer, you skip the beach portion of the process. If you are using a kit that has the bleach and fix combined as “Blix”, you would skip the Blix and then fix with a black and white fixer. If you are using a kit that has the bleach and fix separate, then just skip to using the fix that comes with the kit.
After your film dries, you will find that the negatives look really dense when just looking at the film with the naked eye before you put it on the scanner and do the deed. Scanning can be a little tricky, but as long as you have exposed correctly and developed correctly, you just want to aim for getting the proper black point and white points in your histogram for the scan.
I’ve had great luck with this process with many different film stocks. Cinestill 50D, Portra 400, Portra 800, and even Fuji Superia 400 (consumer film). Here’s a few more examples below.
The film that hasn’t done well for me, however, is Fuji C200. I recently shot two rolls of it at the Rendezvous Dawn Patrol along with a roll of Cinestill 50D and then developed all three in the same tank with the same developer.

The 50D looked great, while the C200 was muddy and very streaky. Not certain what happened there. I thought it worked well for every film stock for the most part, but C200 is a bit of a mystery for me. Maybe I had a bad roll, even though it wasn’t expired. So that’s my word of caution here and something that I still haven’t quite figured out!
OK, that’s it for now. Hopefully this gives you a better understanding regarding “Bleach Bypass” and how the look is achieved. As always, if you have any questions, please reach out to me, thanks!
Jeremy